环境准备
- NodeJS: https://nodejs.org/zh-cn/download
- Git: https://git-scm.com/downloads
- GitHub: https://github.com
Hexo 搭建
创建 Hexo 站点
请替换 hyonline 为你自己的
1
2
3
4
5
| npm install hexo-cli -g
hexo init hyonline
cd blog
yarn install
yarn server
|
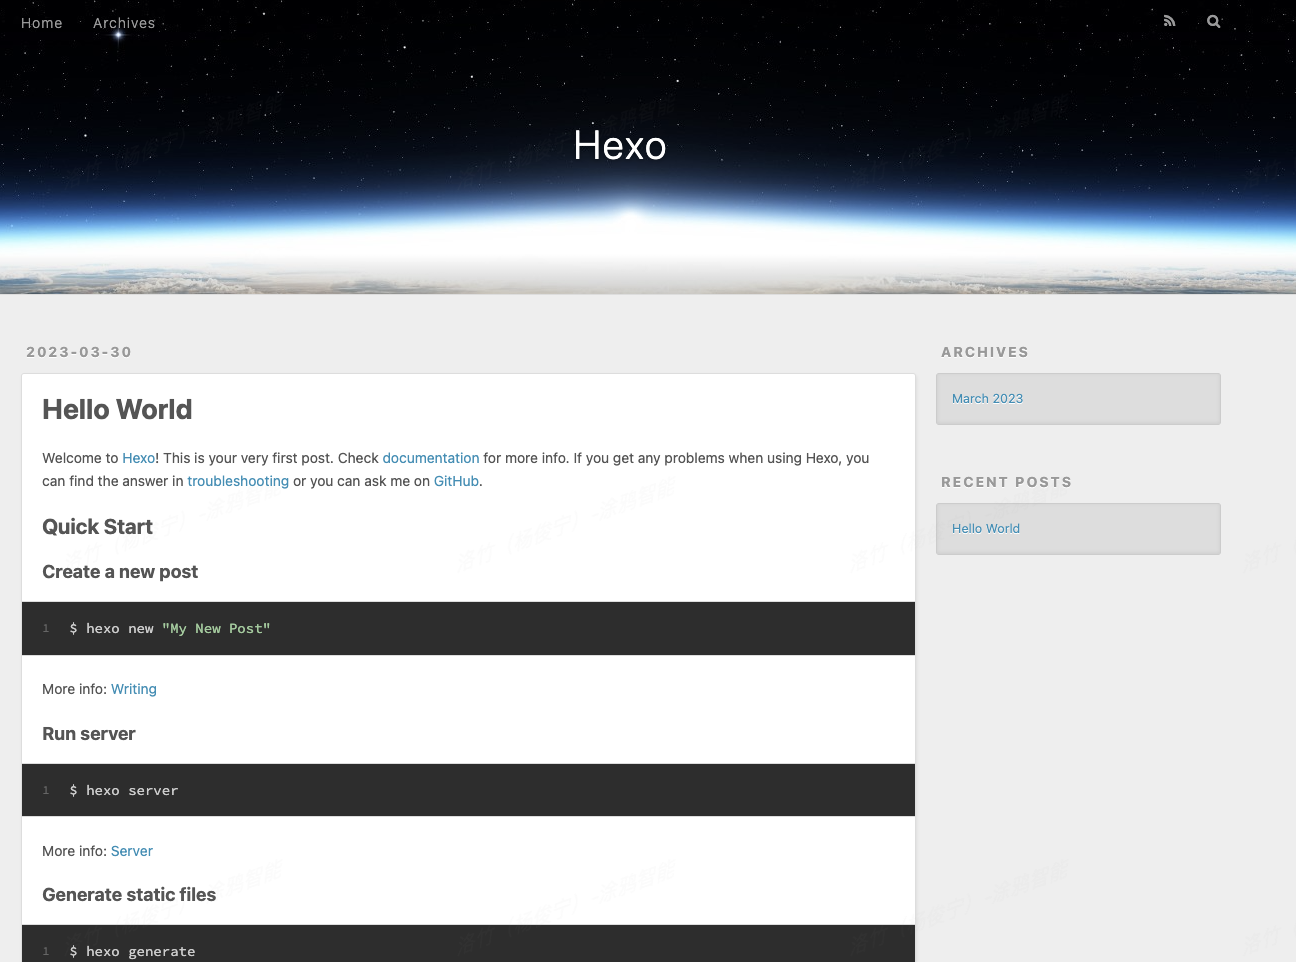
按照提示打开 http://localhost:4000,如果看到 Hexo 的默认页面,说明安装成功。

推送到 GitHub
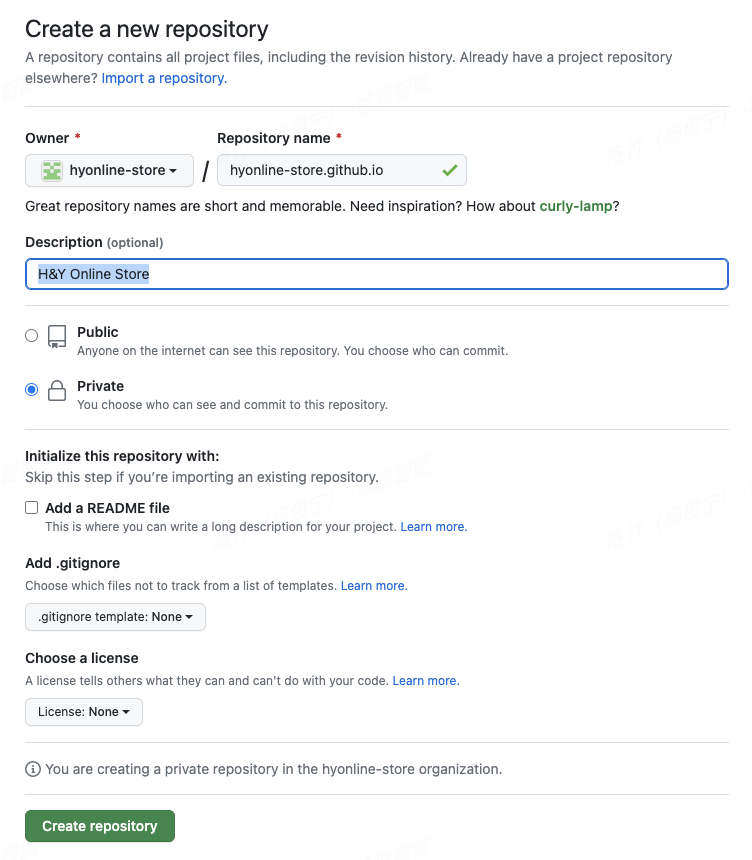
1、创建 GitHub 仓库
仓库格式是 username.github.io
2、推送到 GitHub
1
2
3
4
5
6
| git init
git add .
git commit -m "First Commit"
git remote add origin https://github.com/hyonline-store/hyonline-store.github.io.git
git branch -M main
git push -u origin main
|
自动部署
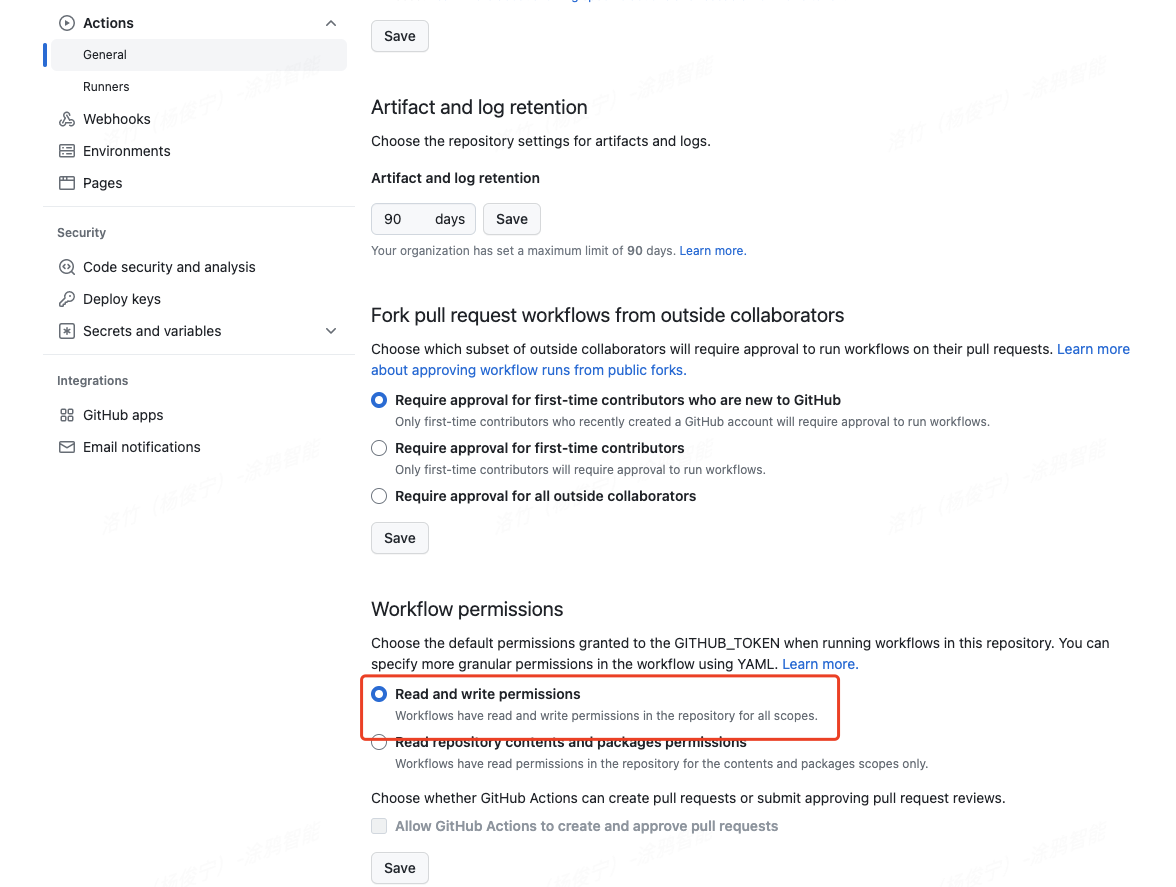
1、设置 Workflow permissions 为 Read and write permissions
2、添加 .github/workflows 目录,创建 gh-pages.yml 文件,内容如下:
1
2
3
4
5
6
7
8
9
10
11
12
13
14
15
16
17
18
| name: github pages
on:
push:
branches:
- main
jobs:
deploy:
runs-on: ubuntu-22.04
steps:
- uses: actions/checkout@v2
- uses: c-hive/gha-yarn-cache@v2
- run: yarn install
- run: yarn build
- name: Deploy
uses: peaceiris/actions-gh-pages@v3
with:
github_token: ${{ secrets.GITHUB_TOKEN }}
publish_dir: ./public
|
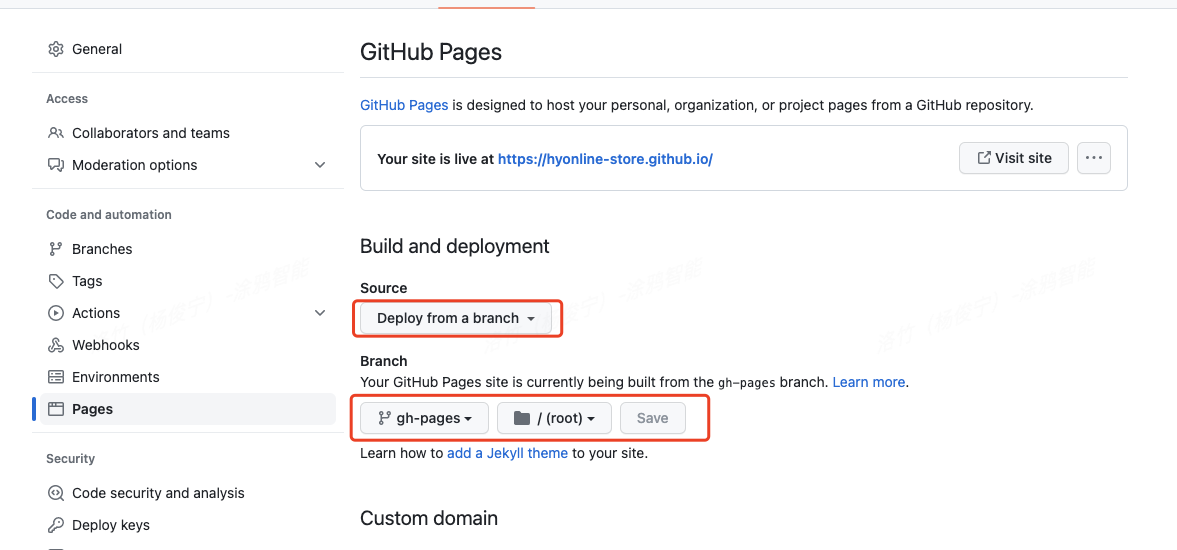
3、 部署成功后,设置 Pages
等待 GitHub Action 执行完成,就可以通过 https://hyonline-store.github.io 访问了。
域名解析
1、添加 A 记录(Godaddy 为例)
2、添加 CNAME 记录(Godaddy 为例)
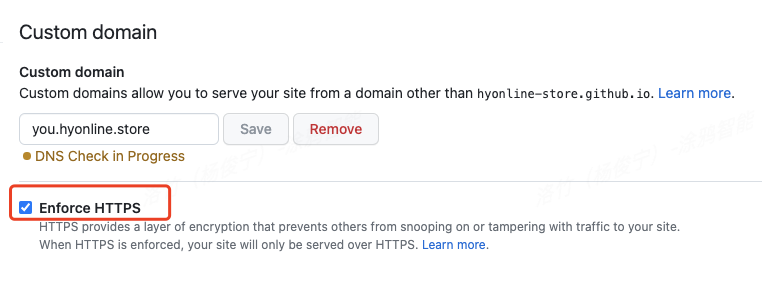
3、GitHub Pages 解析
4、Hexo CNAME 设置
1
2
3
4
5
6
7
8
9
10
11
12
13
14
15
16
17
18
19
| name: github pages
on:
push:
branches:
- main # default branch
jobs:
deploy:
runs-on: ubuntu-22.04
steps:
- uses: actions/checkout@v2
- uses: c-hive/gha-yarn-cache@v2
- run: yarn install
- run: yarn build
- name: Deploy
uses: peaceiris/actions-gh-pages@v3
with:
github_token: ${{ secrets.GITHUB_TOKEN }}
publish_dir: ./public
+ cname: you.hyonline.store
|