TypeScript
参考文档:https://www.typescriptlang.org/docs/handbook/typescript-tooling-in-5-minutes.html
初始化:
1 | # 初始化 npm 项目 |
配置 tsconfig.json:
1 | { |
- target:用于指定 TypeScript 代码编译后生成的 JavaScript 代码的目标版本。
- module:用于指定 TypeScript 模块的目标模式,即编译后的 JavaScript 代码所使用的模块系统。
- outDir:用于指定编译后的 JavaScript 文件输出目录的配置选项。
- esModuleInterop:主要用于处理 ECMAScript 模块(ES 模块)与 CommonJS 模块之间的交互问题
当esModuleInterop设置为true时,TypeScript 编译器会在编译过程中生成一些额外的代码来处理 ES 模块和 CommonJS 模块之间的差异。具体来说,它会确保当从 ES 模块中导入 CommonJS 模块时,能够正确地获取到 CommonJS 模块的导出内容。
- forceConsistentCasingInFileNames:用于指定是否强制使用一致的大小写来命名文件。
当forceConsistentCasingInFileNames设置为true时,TypeScript 编译器会在编译过程中严格检查所有导入和引用的文件名的大小写是否与实际文件系统中的文件名大小写一致。如果发现不一致,编译器将抛出错误,提示开发人员修正文件名的大小写问题。
- strict:用于指定是否启用严格模式。
当strict设置为true时,TypeScript 编译器会启用严格模式,对代码进行更严格的类型检查和错误检测。这意味着编译器会对代码进行更严格的类型检查,以帮助开发人员发现潜在的类型错误和问题。
- skipLibCheck:主要用于控制 TypeScript 编译器对声明文件(.d.ts)的类型检查行为,以下是具体介绍:
当编译器遇到skipLibCheck设置为true时,它会在编译过程中跳过对node_modules目录下以及types目录(如果有)中声明文件的类型检查。编译器仍然会处理这些声明文件,以便在代码中正确地使用它们提供的类型信息,但不会对其内部的类型定义进行严格的检查和验证。
配置文件优化:
1 | { |
添加 scripts:
1 | { |
- rimraf:用于删除指定目录下的所有文件和子目录。
创建第一个 TypeScript 文件:
1 | // src/sum.ts |
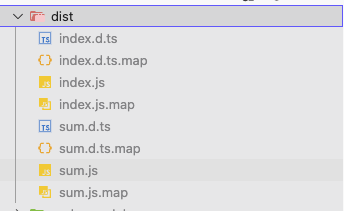
执行 pnpm run build 命令,生成 dist 文件夹:
Jest
安装 jest
1 | # 全局安装 Jest |
安装 ts-jest
1 | pnpm add ts-jest -D |
安装 ts-jest 后,Jest 会自动识别 TypeScript 文件,并使用 ts-jest 进行编译和测试。
使用 ts-jest
为了让 Jest 使用 ts-jest 来转换 TypeScript,你还需要使用 jest --init 命令创建一个配置文件。之后在 jest.config.ts 文件中添加一行:preset: "ts-jest"。
1 | pnpm add ts-jest -D |
安装 ts-node
使用 Typescript 配置文件的还需给 Jest 安装 ts-node, 请确保在项目中安装该依赖。
1 | pnpm add ts-node -D |
安装 @types/jest
安装 @types/jest 包。它为 Jest 的全局变量提供类型,无需导入它们。
1 | pnpm add @types/jest -D |
测试
创建一个测试文件,一般我们会把测试文件放在 __tests__ 目录下:
1 | // src/__tests__/sum.test.ts |
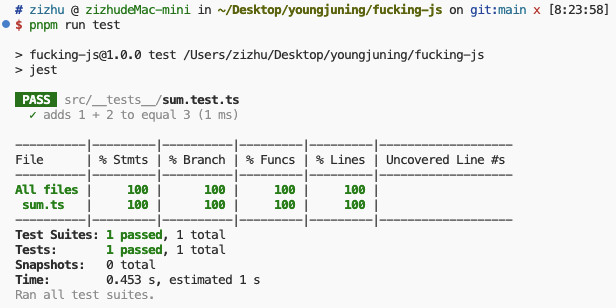
执行 pnpm run test 命令,测试通过:
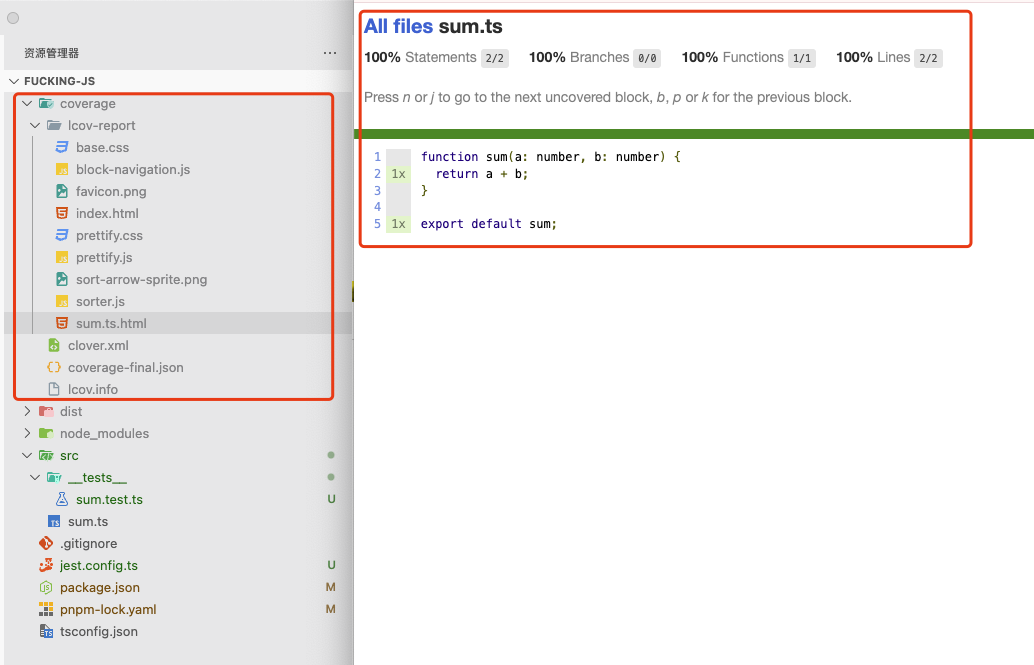
会在项目根目录下生成 coverage 文件夹,里面包含了测试覆盖率的报告:
Codecov
介绍
Codecov 是一款专注于代码覆盖率分析的在线服务平台,支持多种编程语言和测试框架,能够帮助开发者直观评估测试用例的有效性,并优化代码质量。
初始化
访问 codecov.io 网站,点击 Sign in with GitHub 按钮,授权登录。选择具体仓库进行配置:

在仓库中添加 TOKEN:

在项目根目录添加 .github/workflows/test.yaml 文件:
1 | name: Run tests and upload coverage |
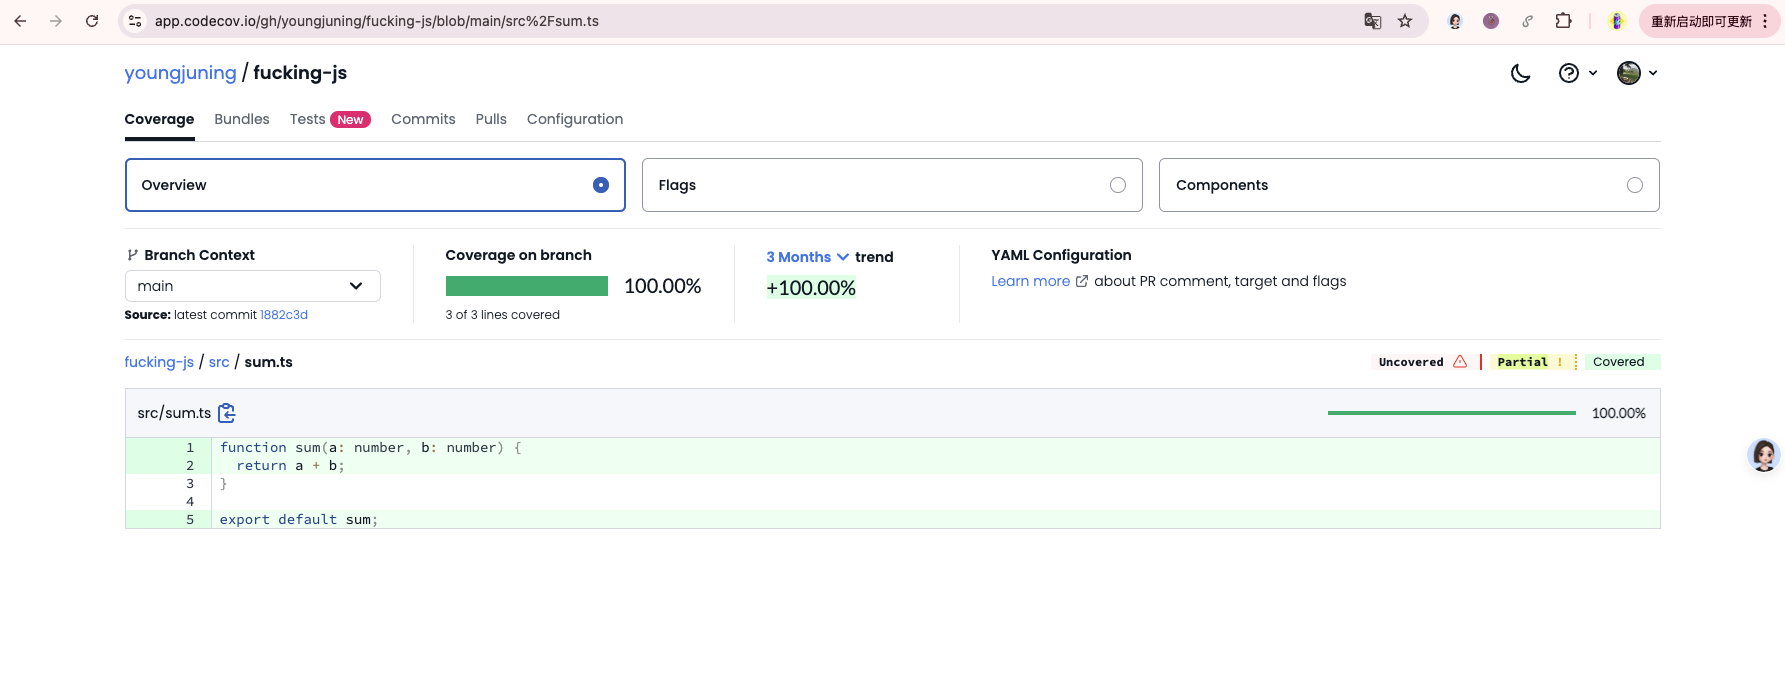
执行完后访问 https://app.codecov.io/gh/youngjuning/jsace 网站,查看测试覆盖率:
eslint flat config
安装 @youngjuning/eslint-config
1 | pnpm add @youngjuning/eslint-config eslint prettier typescript jest -D |
添加 eslint.config.ts
1 | import tseslint from 'typescript-eslint'; |
pnpm Installation
要在 pnpm 中使用 ESLint,我们建议设置一个 .npmrc 文件,并至少包含以下设置:
1 | auto-install-peers=true |
 微信
微信- 支付宝